Math Monday: Sleeve Magic
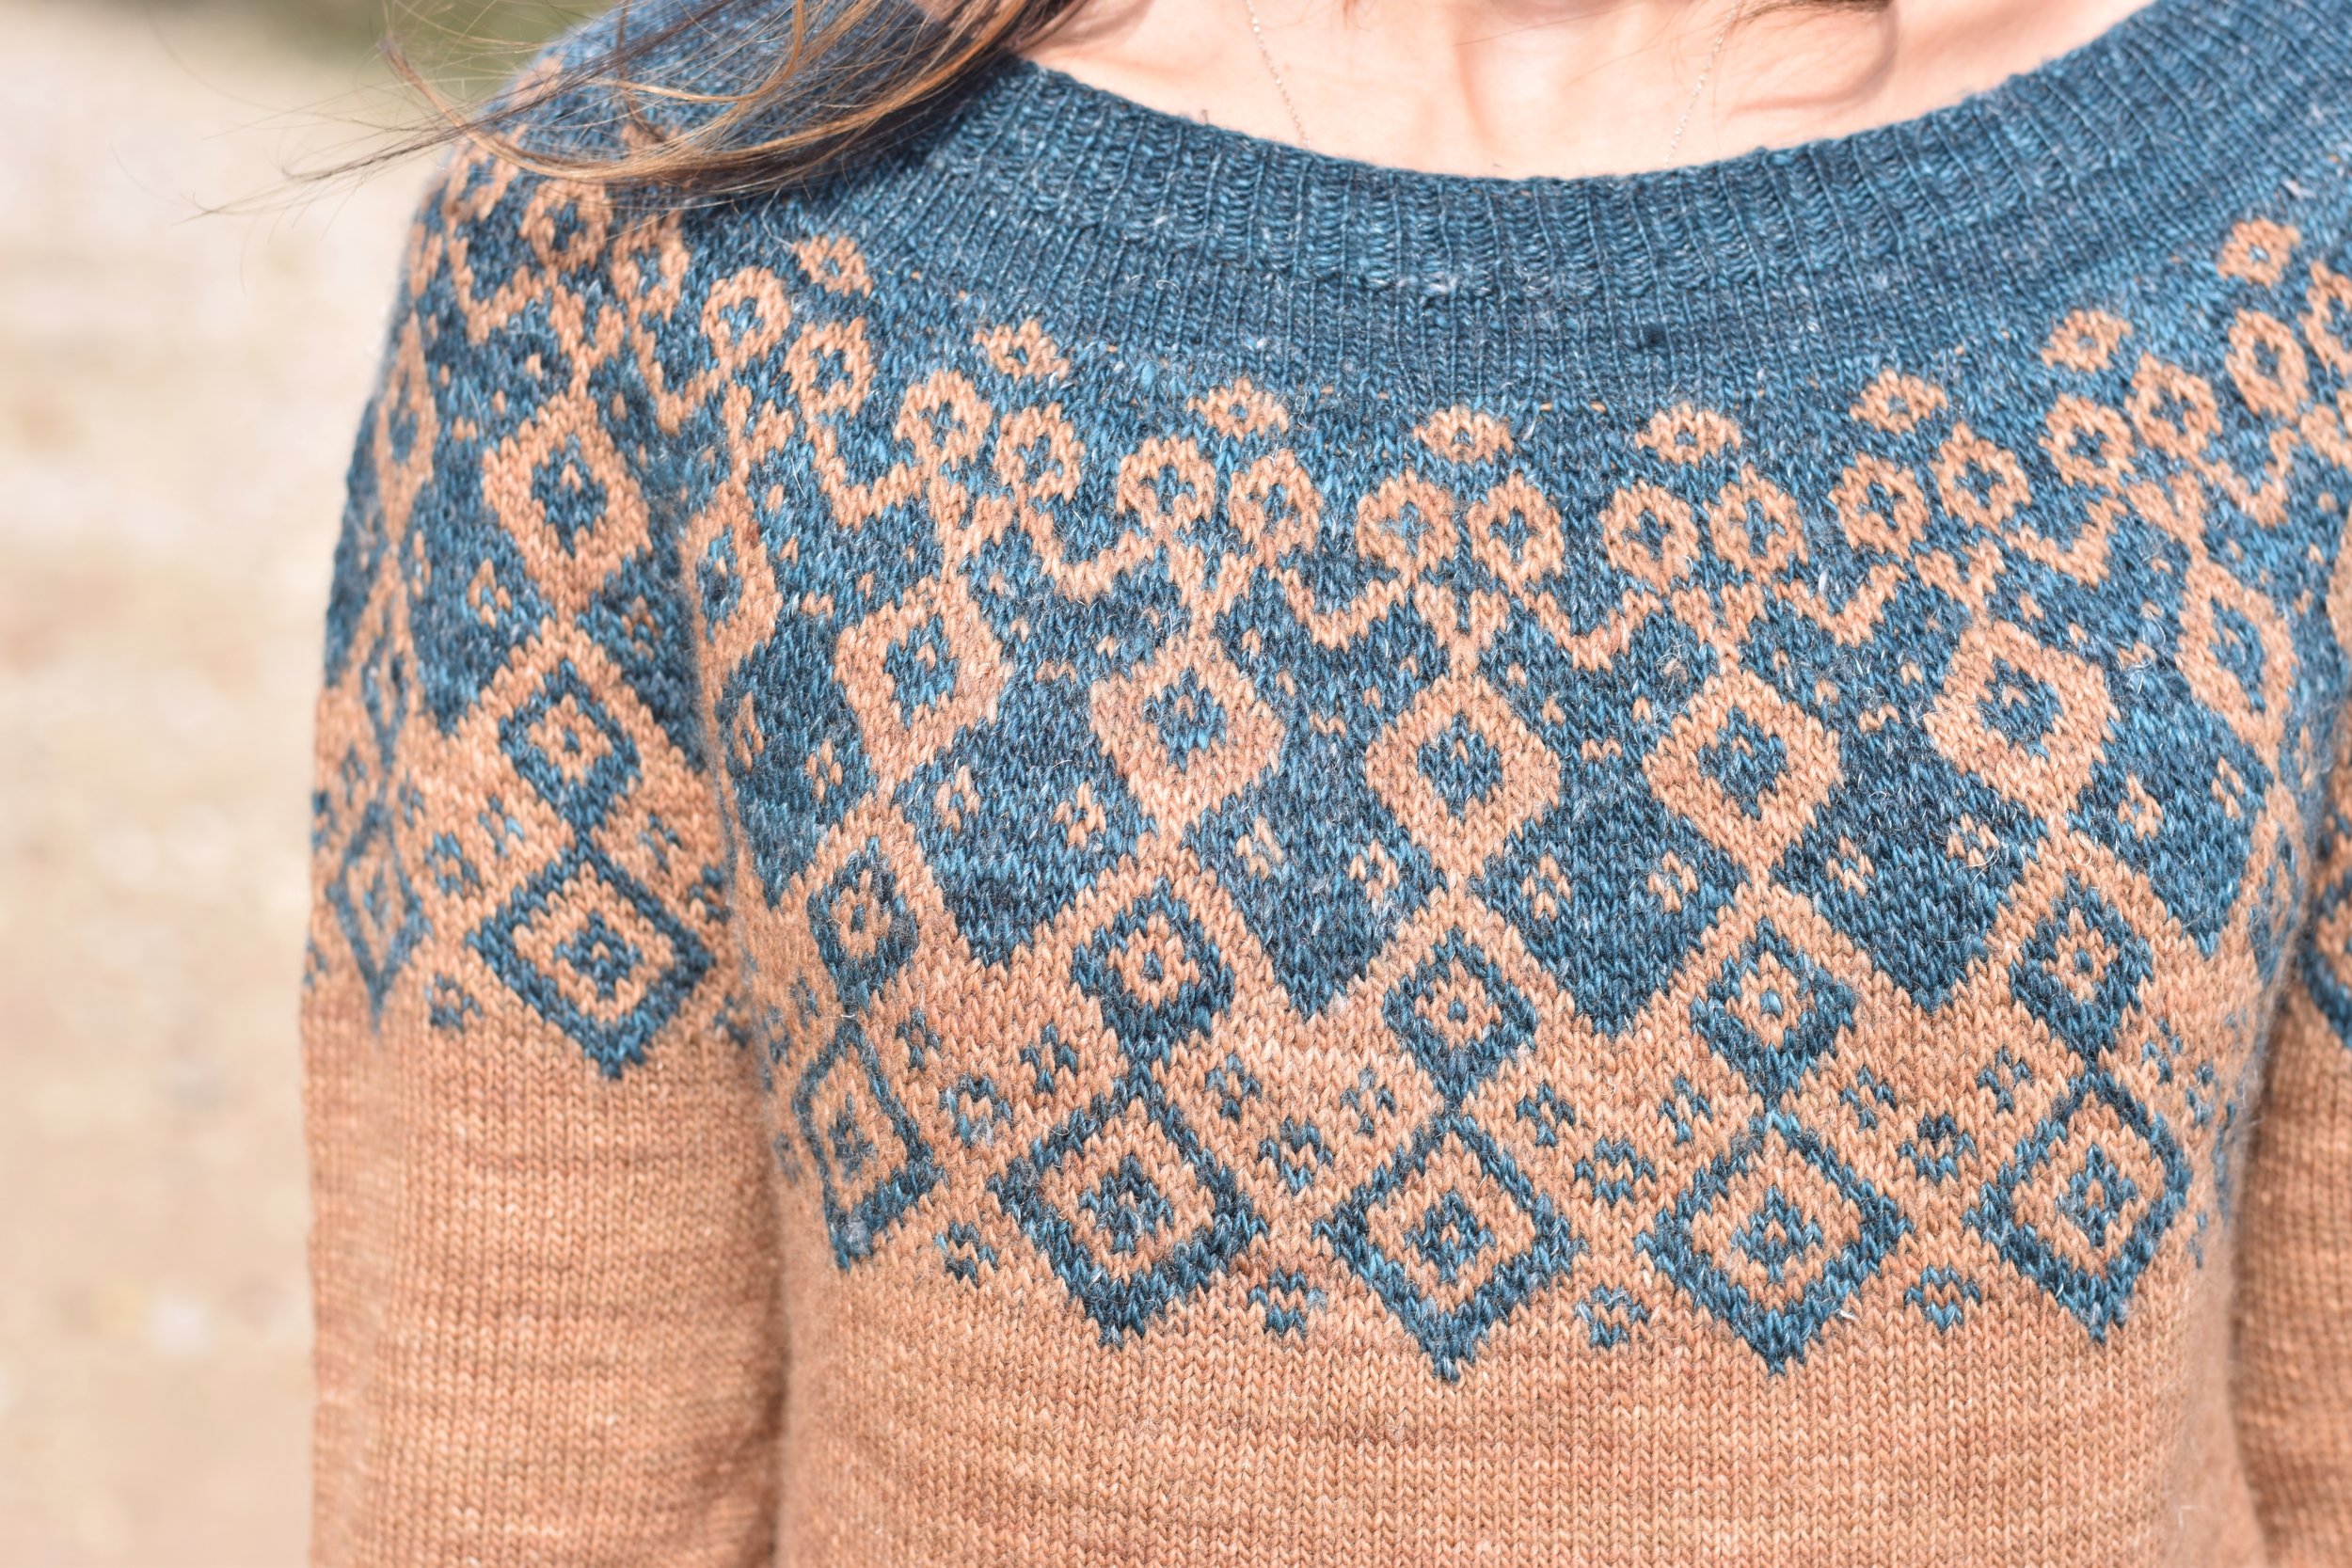
Recently two sleeve-related incidents happened at the same time. I finished my Daytripper Cardigan by Mary Jane Mucklestone and decided not to do the sleeve shaping at all. My decision was made because there were so few decreases and I kind of like my cardigan sleeves looser so I can wear a long-sleeve something underneath.
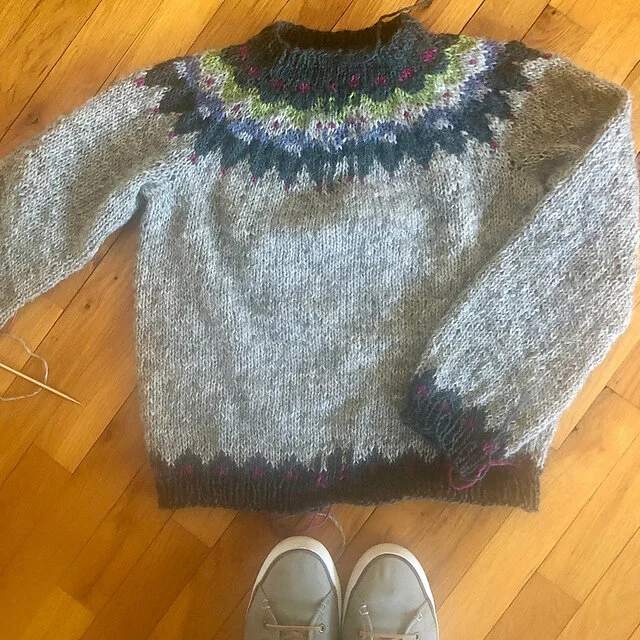
My Daytripper before steeking.
Then I tuned into the Girl Meets Yarn podcast by Marilsa Lugo (IG: @marilisalugo) on YouTube. Don’t ask me which episode because I watch them in my car on my l-o-n-g drive to work - ssssh! don’t tell a cop. She was saying that she likes to make decreases in her sleeves every two inches or so.
I thought it might be a perfect opportunity to address how to figure out how to shape your sleeves … with a little math, of course.
First, let’s get some things straight. Both my Daytripper and Marilisa’s sweater sleeves were knitted cuff down, meaning there were decreases. You can use the very same math to knit cuff up, only there will be increases. We’ll also say use long sleeves knit in the round for my example, although this will work for any length of sleeves, worked in the round or flat.
Most long sleeves are about 17 to 18” long measured from underarm to wrist. Again, adjust accordingly. My arms are rather long, so I’ll say I want my sleeves to be 18”. It’s bad form to do any shaping at all at the very edges of your work, so let’s say we also will work 1” even at the top of our sleeve and 1” even before we begin the cuff. The cuff will be 2”. So if my total sleeve length is 18” and I get rid of 1” at the top and the bottom and then get rid of the length of the cuff, I’m looking at 14” of sleeve [18 - 1 - 1 - 2 = 14]. We’ll also say that my row gauge is 6 rounds per inch. That means I’ll have 84 rounds to work with [14 x 6 = 84].

Sleeve shaping happens in pairs, usually at the underarm - beginning and end of the round/row.
Now let’s say the upper arm circumference of my sleeve is 90 sts and my cuff circumference is 58 sts. That means I’ll have to get rid of 32 sts. [90 - 58 = 32] Decreases in a sleeve are always worked in pairs - one at the beginning of the round, one at the end - meaning we’ll have 16 pairs of decreases. [32/2 = 16], but since we’re working the very first decrease as soon as we’re done with the 1” even at the top of the sleeve, it will mean that we’ll only have only 15 pairs to work and only 83 rounds to work them since we’ve done it over one round.
Now for our calculations. If you remember in some previous Math Mondays, we use the longer division method. Divide as usual, but take the dividend and add 1; then subtract the remainder from the divisor to get the extended remainder, as follows:

Longer division method….
This means that we’ll work 7 pairs of decreases every 5th round and 8 pairs of decreases every 6th round. Let’s do a little math check:
7 x 5 = 35 8 x 6 = 48 35+48 = 83 rounds 7 pairs + 8 pairs = 15 pairs
The math checks out and we can carry on with our decreases.
How can this help you? Well, suppose you like the shape of the sleeve, but want to shorten it. You’ll have fewer rounds to work with (and also probably fewer decreases because the forearm isn’t quite as narrow as the wrist). Or suppose you like the length but want a puffier sleeve or narrower sleeves. You’ll do more or fewer pairs of decreases.
You’re in charge of the fit. You can do whatever you want.