Math Monday: Increasing - Part II - across a row
We’re ending our little mini-course on calculating increases and decreases with perhaps, the trickiest of all, increasing across a row. Not difficult to figure out, but tricky because increase placement depends on what kind of increase you’ll be working.
Let’s get the easy part out of the way first….
We want to start out with how many stitches we have on the needle at present. In other words, don’t use the final stitch count after the increases. You don’t have that many stitches yet!

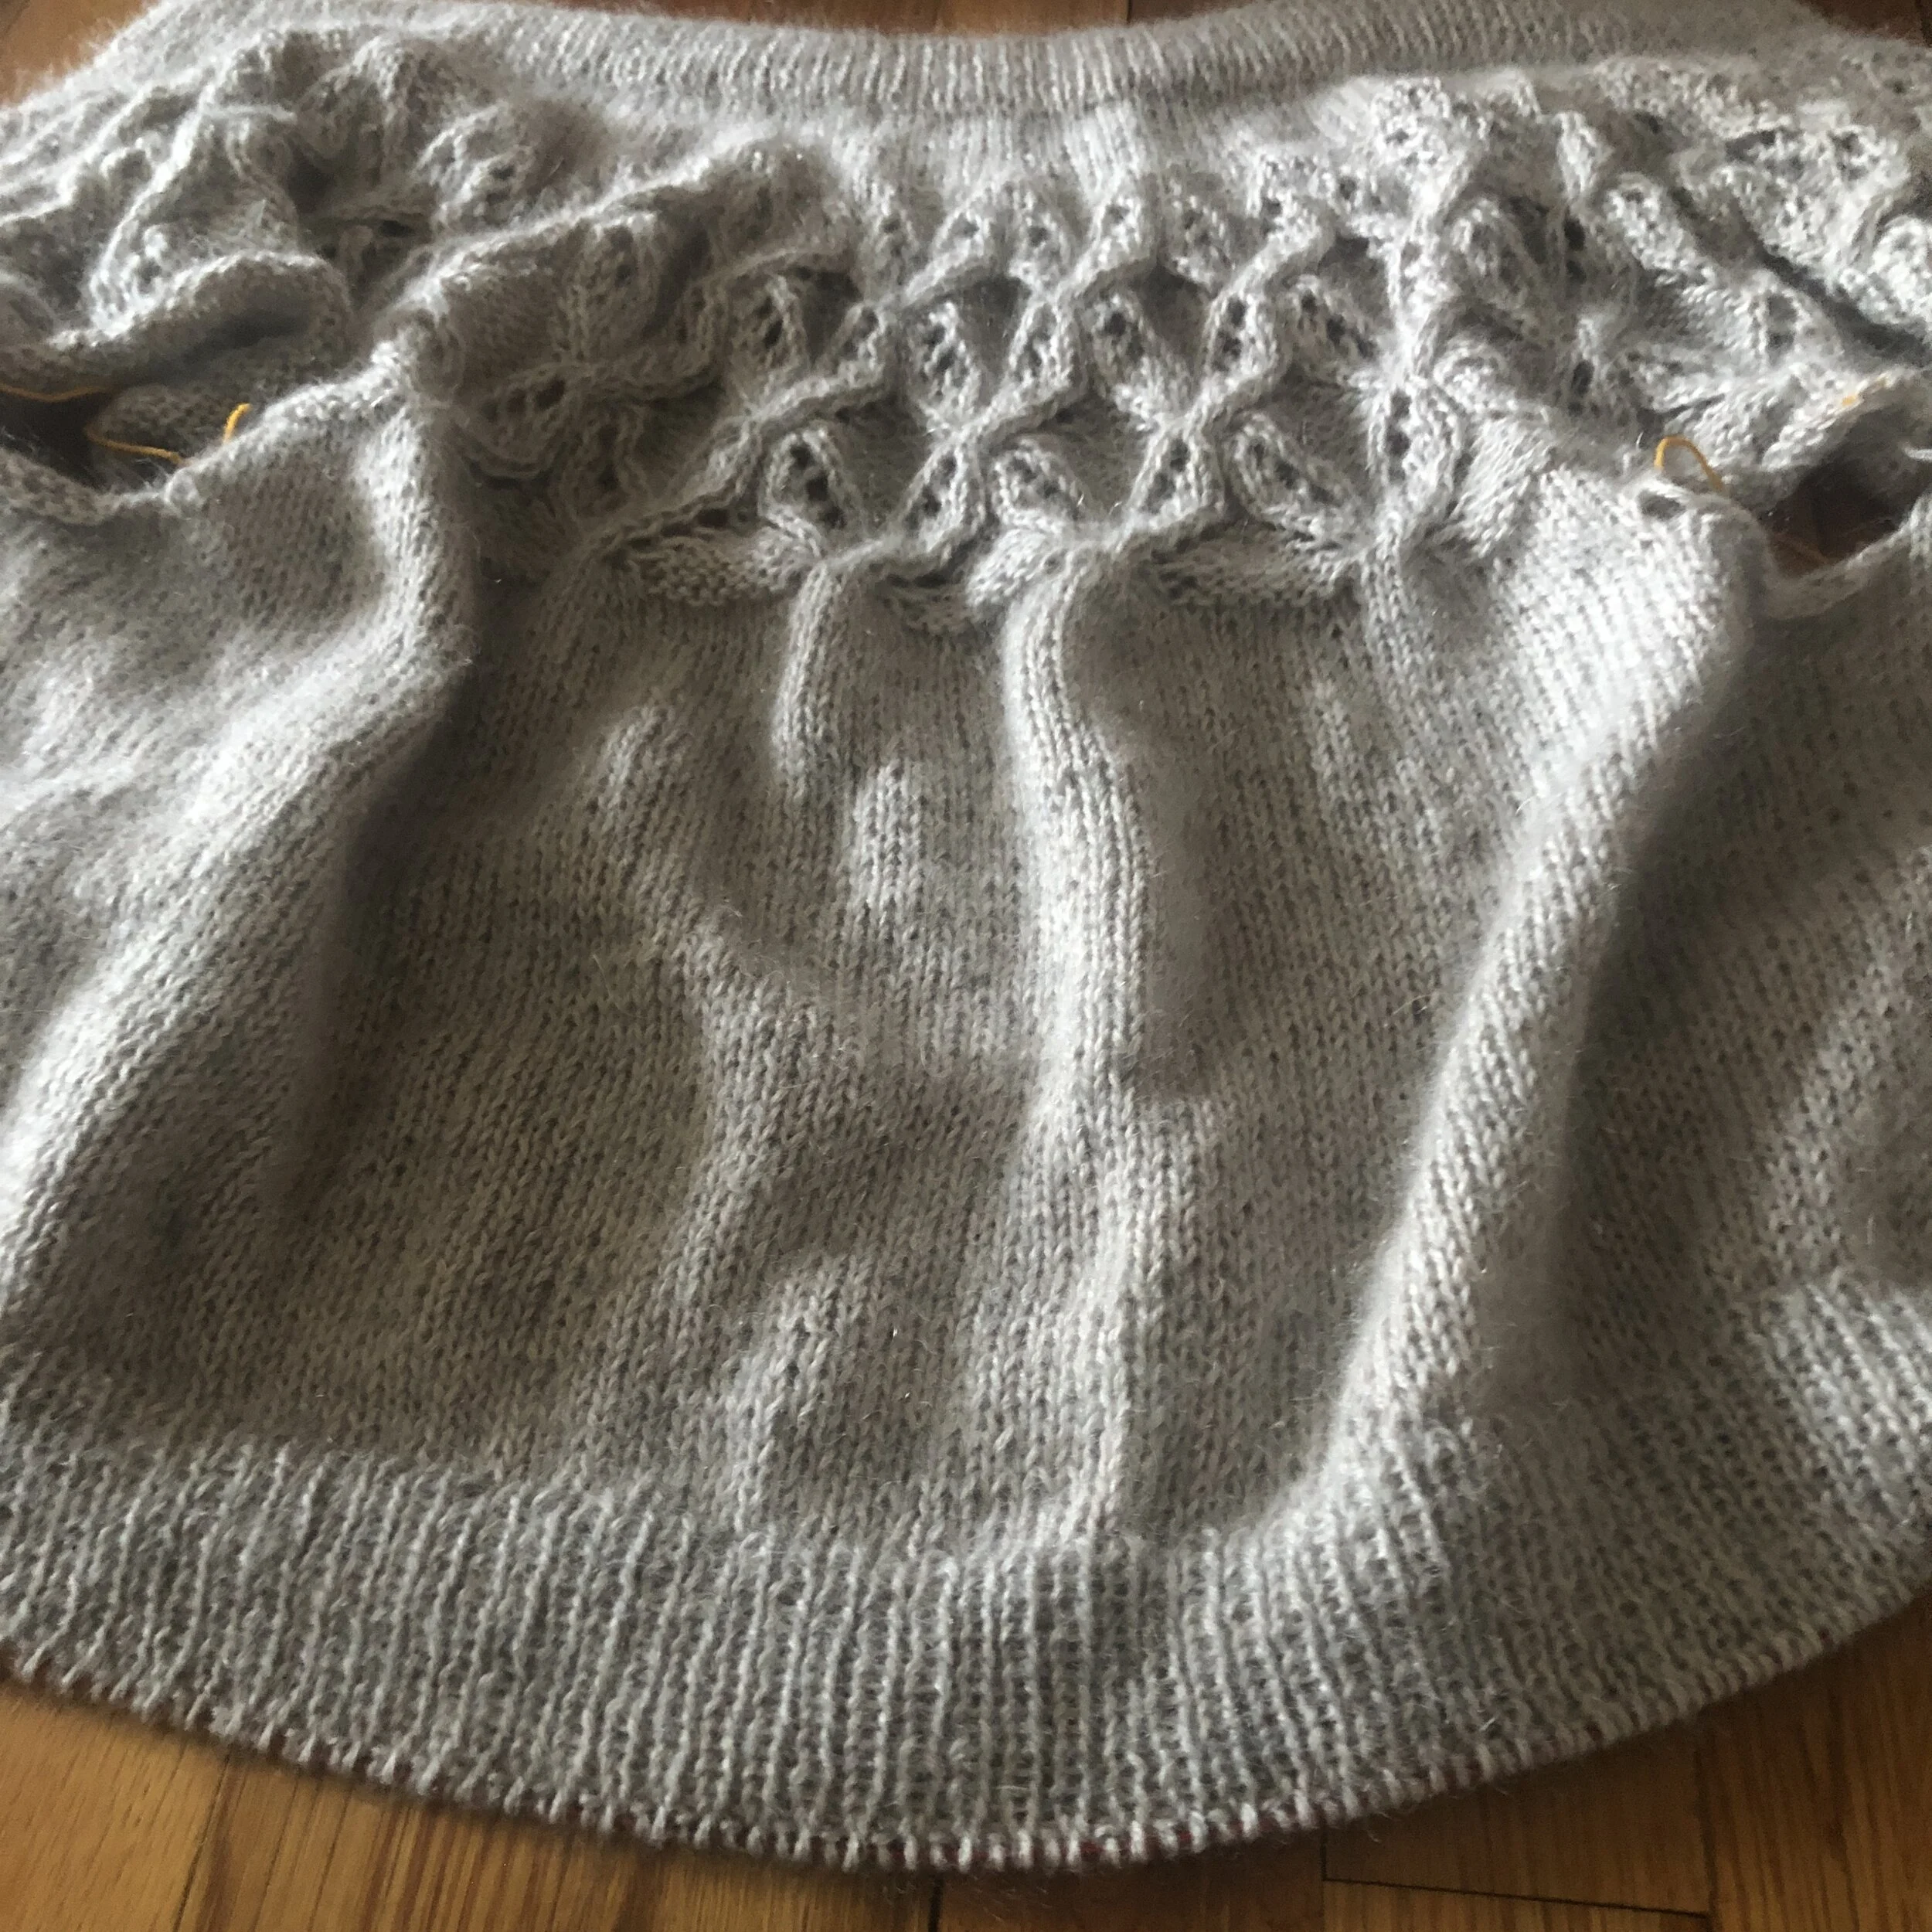
Soul Perch - a cardigan to be published spring 2021.
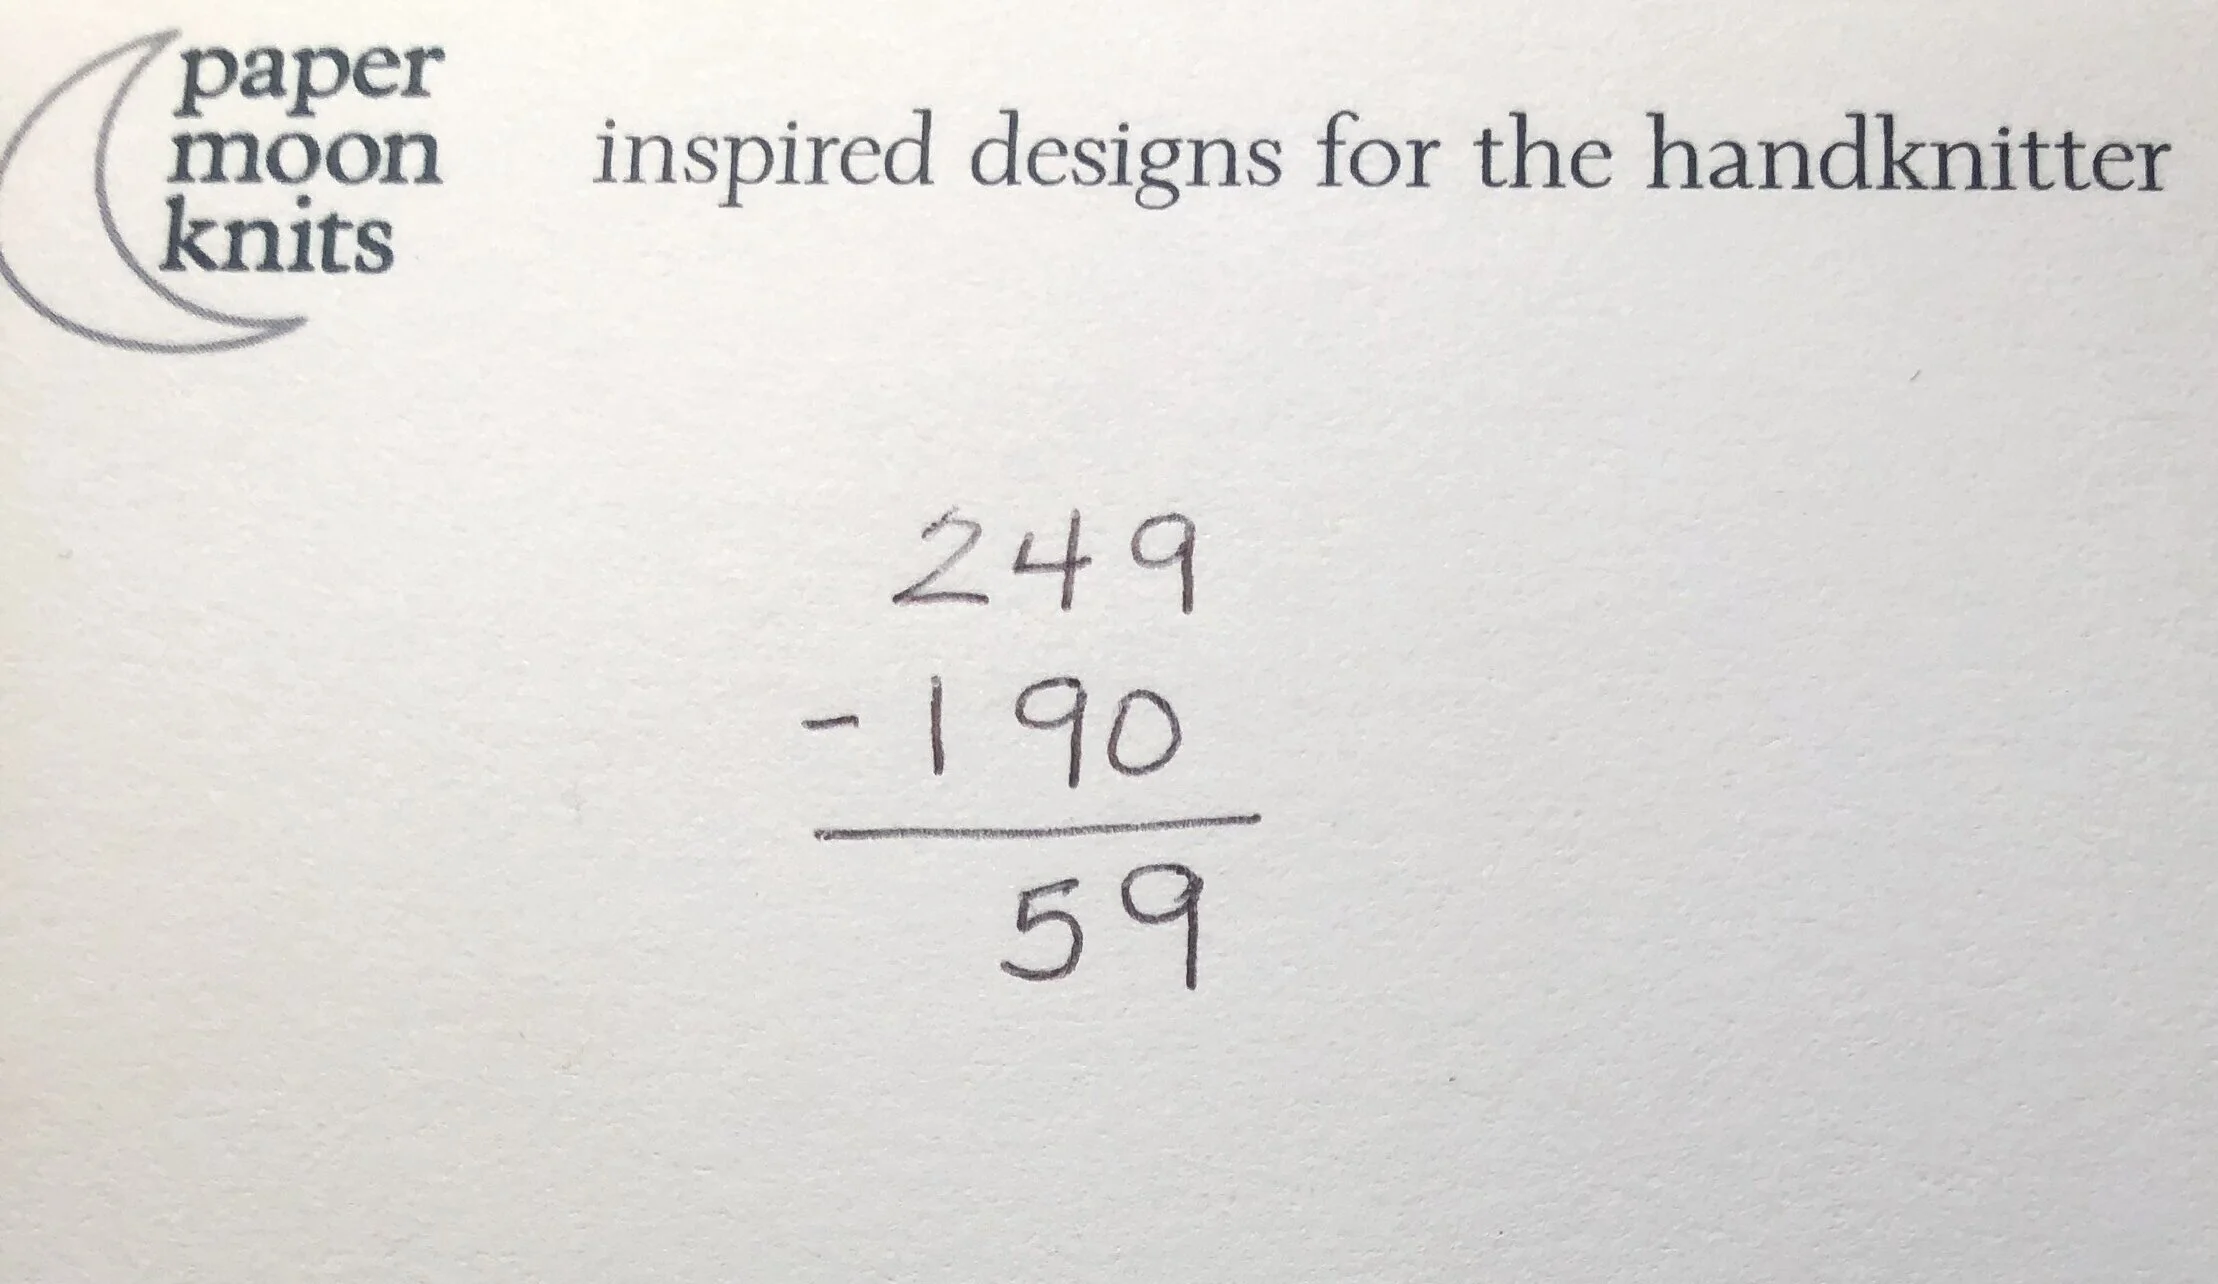
In this cardigan (to be published later this spring) which is worked from the top, we have 190 stitches on the needle for the body in Stockinette and we need 249 stitches for the ribbing.
This means we need to increase 59 stitches. {Subtract 190 from 249}
Divide 59 into what you have to work with….190 stitches.
Just like in our previous calculations, we divide; add 1 to the quotient; then subtract the remainder from the dividend and draw an X.

The formula tells us that we will increase 1 stitch every 3 stitches 46 times and every 4 stitches 13 times.
Remember our discussion on not decreasing on the first or last stitch? If you don’t, go back and read this post on decreasing across a row. We want to split that first 4 stitch increase in half and do the first one after 2 stitches.
But more importantly, we want to think about the increases we’ll use. This will help determine where to put them.
There are quite a few types of increases: knit through the front and back loop [kfb], yarn over [yo], Make 1 (and Make 1 Right and Make 1 Left [M1, M1R, M1L], and left leaning and right leaning increases [LLI, RLI].
The kfb, LLI and RLI all use the stitch on the needle itself. The yo is created with the working yarn. The M1, M1R and M1L all use the running thread between the stitches already on the needle.
Let’s use our example of placing increases every 4 stitches 13 times, and let’s also eliminate the kfb from our discussion. I rarely recommend using it unless you want the worked stitch to be a knit and the increase to be a purl.
For LLI you will make the increase in the 4th stitch by working the stitch, and then lifting the left leg of the stitch 2 rows below onto your needle to work the increase. The increase will slant left.
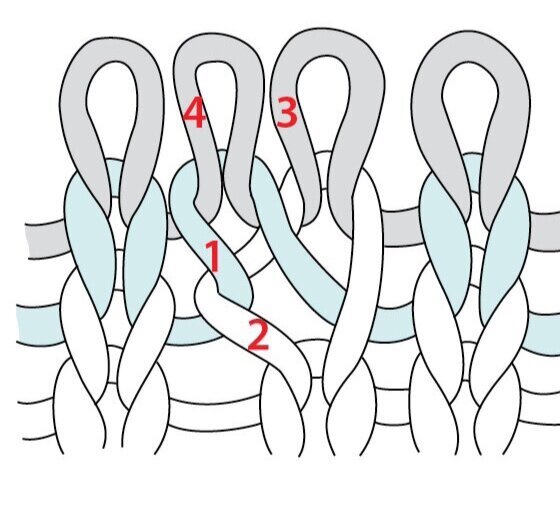
Left Lifted Increase - image (c) interweave.com
For the yo, M1, M1R, and M1L, you will make the increase after the 4th stitch has been worked. For the yo, just work the 4th stitch and yarn over. For the Make 1 increases, work into the running thread between the 4th and 5th stitches.
However, for the RLI, the increase is made in the 5th stitch. To work this increase, work the 4 stitches, then pick up the right leg of the stitch below the needle and knit into it, then knit the 5th stitch. The increase will be between the 4th and 5th stitch and lean right.

Right Lifted Increase - image (c) interweave.com
Next week, our math discussion turns to counting!

