Math Monday: Decreasing - Part I - along the length
Long division. Do you remember?
This Monday, I’ll be teaching you how to use long division to calculate decreases —one that is used to taper a sleeve or the body of a sweater. Next week we’ll use it for decreases along a row or round.
Sleeve schematic for Enracine
There are 3 measurements you’ll need to calculate this type of decrease: a starting point (E), an ending point (G) and the length over which you’d like the decreases to occur (F). Of course, you’ll also need your stitch and row gauge.
In the sample size, the starting point circumference was 13” [33cm]. If we multiply this number by our stitch gauge of 4.75 sts/inch, we know that our starting point stitch count is 62 sts - rounded to the nearest even number. Our ending point circumference is 9.5” [24cm]. If we multiply this number by by our stitch gauge, we know that our ending stitch count is 46 sts - again, rounded to the nearest even number. By the way, it doesn’t have to be even, but both numbers have to be the same - both odd or both even.
The difference between 62 and 46 is 16 sts, and we need to do these decreases in sets, one on each side of the “seam line” of the sleeve. This means there are 8 sets of decrease points along the sleeve for this size (16 divided by 2).
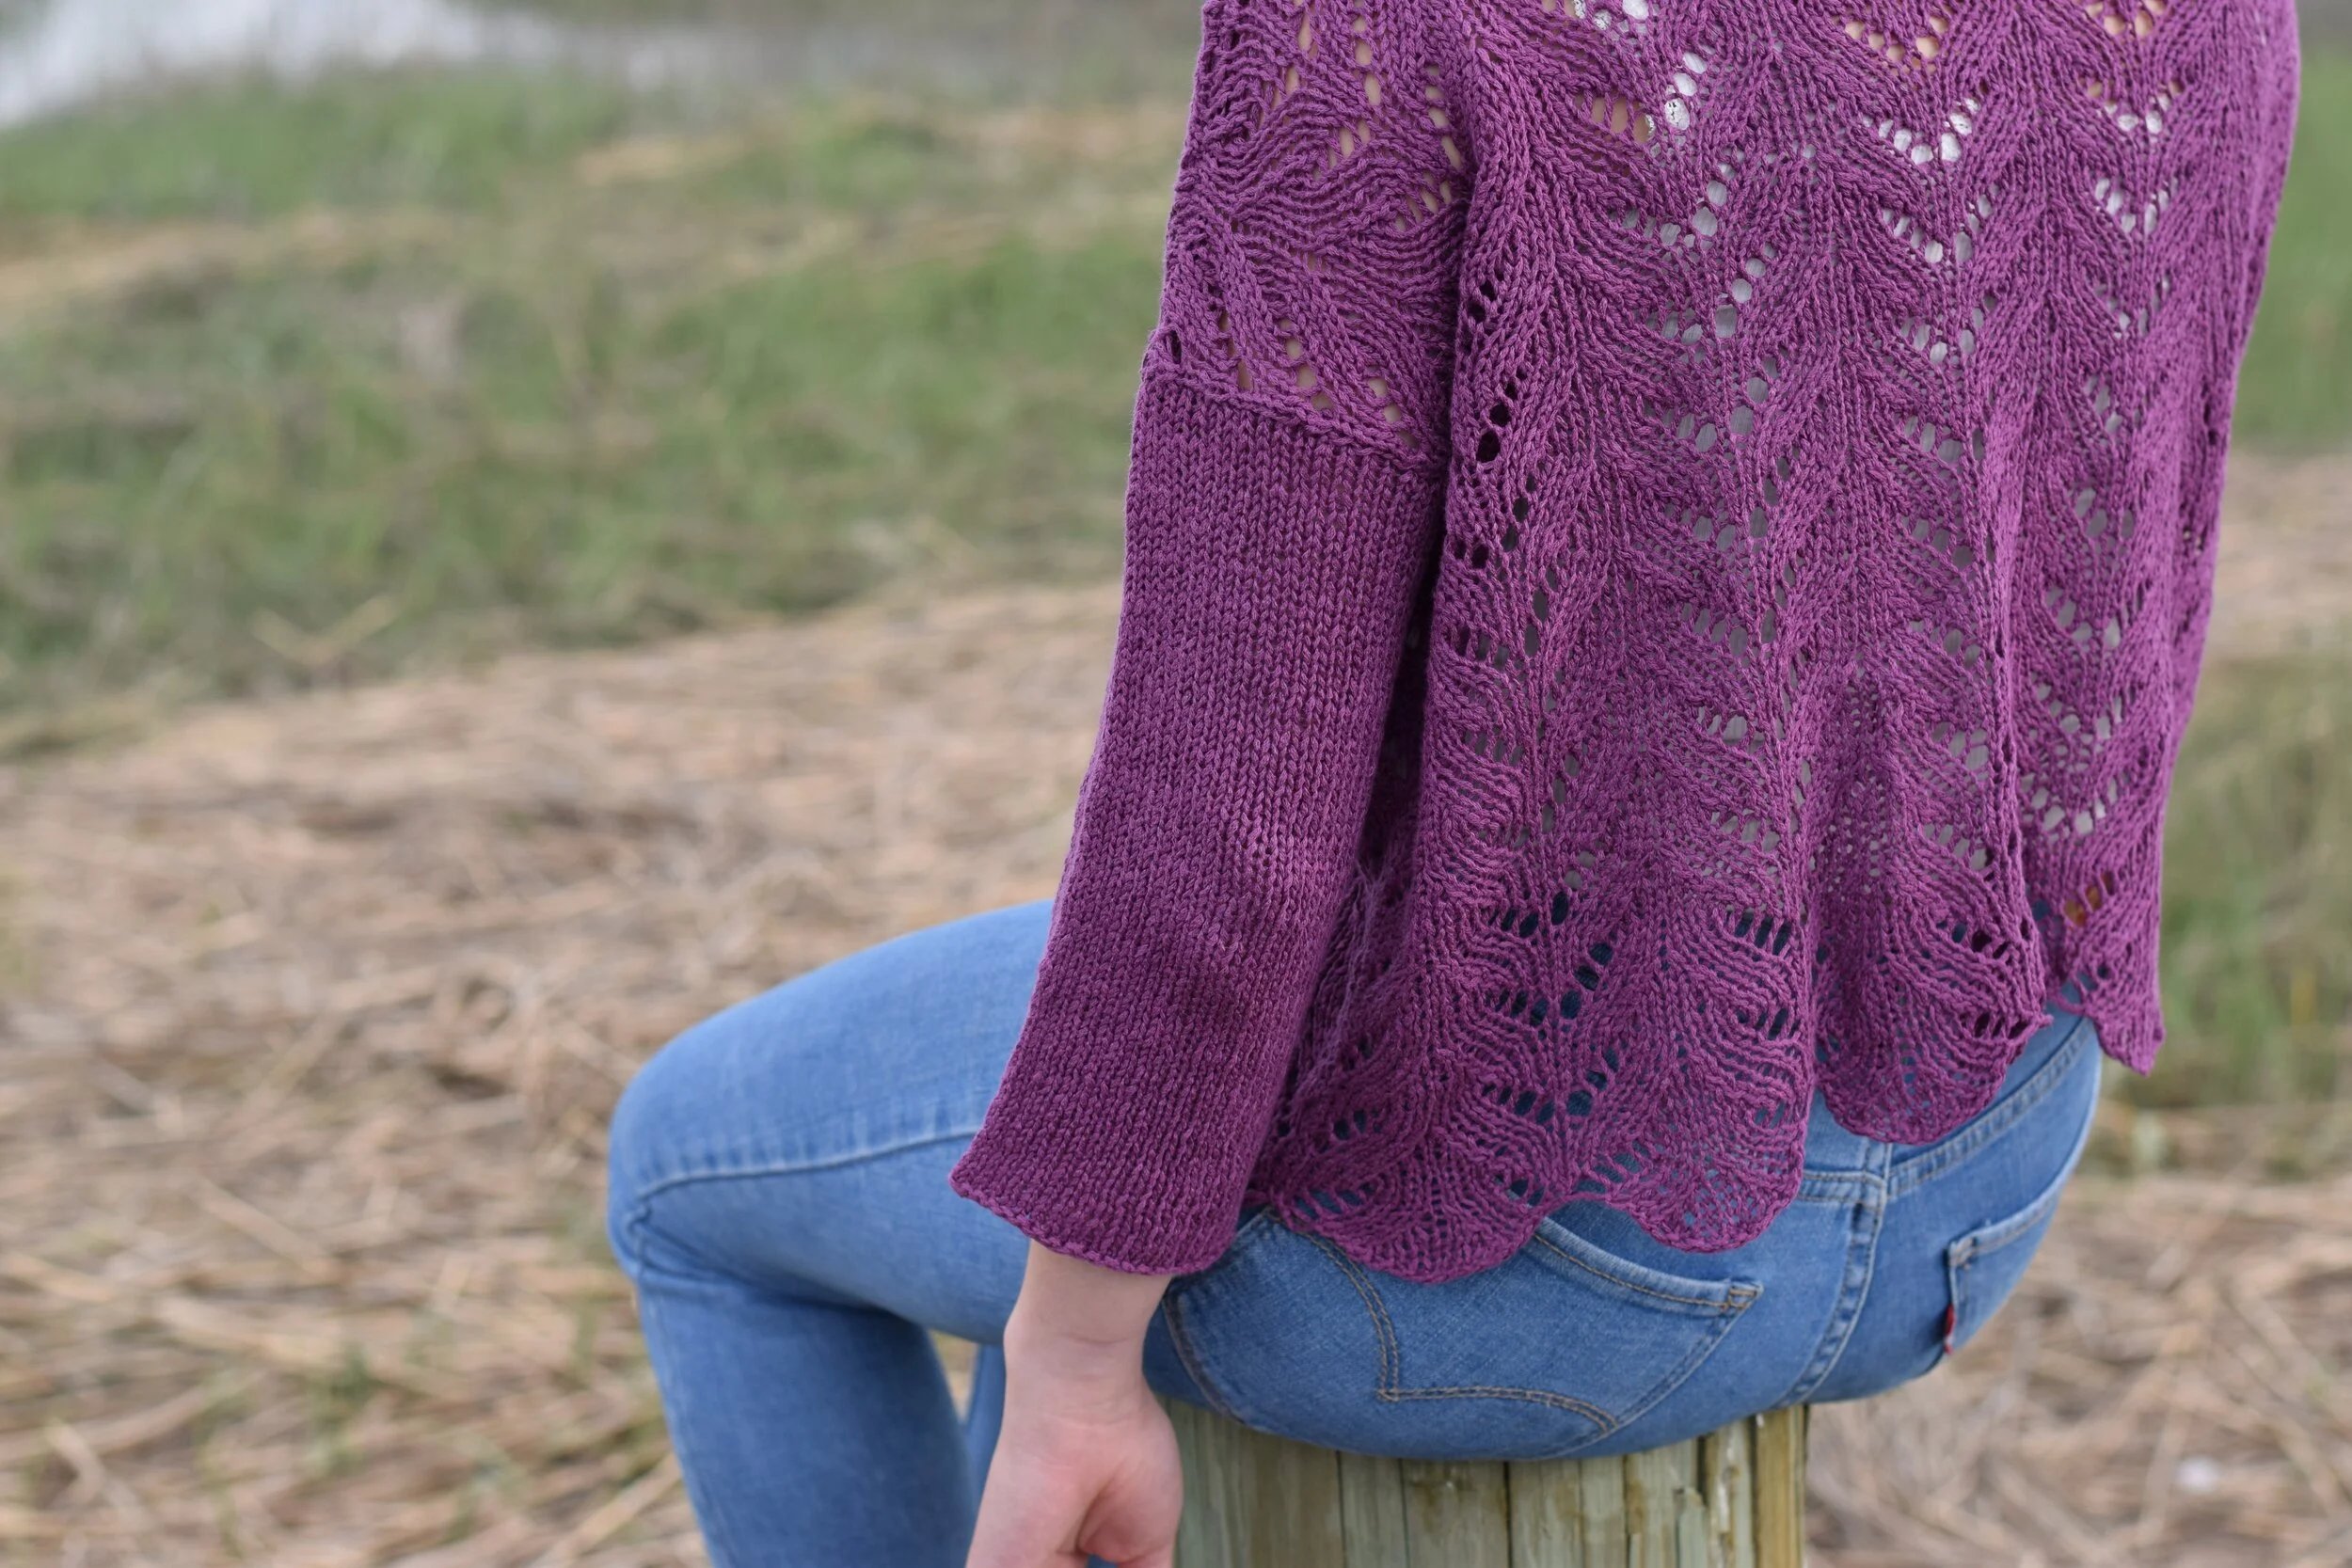
Now for this design, I wanted three-quarter sleeves, so the length of the sleeve for all sizes is 9.5” [24cm]. They seem shorter than normal because this design was a drop shoulder. We’ll discuss that another time. The row gauge is 8.25 rounds per inch as the sleeves are knitted in the round. It works the same way for pieces knitted flat. Decreases shouldn’t start at the first round of the piece and shouldn’t end on the last round either, so the rule of thumb is usually to leave 1” [2.5cm] at the top and bottom before the first and after the last decrease. This reduces our length by 2” [5cm]. Now we only have 7.5” [19cm] to work with.
Multiply 7.5” by our row gauge of 8.25 gives us approximately 60 rounds to work with.
Now comes the long division:
Follow the steps beginning at the top left.
Only 1 more step and we’re done!
Draw arrows that cross from the quotient and the quotient + 1 to the remainder and the difference between the divisor and remainder. This tells you that to get evenly spaced decreases, you work a set of decreases every 7th round 4 times, and every 8th round 4 times. You can alternate these - every 7th, then every 8th, then every 7th…. - or you can just work decreases every 8th round 4 times, then every 7th round 4 times.
You can also do a little math check if you want to prove to yourself it works:
Multiply number of rounds to decrease by number of times to check your answer! IT WORKS !
Now isn’t math awesome?


