You may have heard of grafting. The most common form is Kitchener stitch, which is usually used at the tip of the toes when knitting socks. It involves “live” stitches that have not been bound off and is done using a length of yarn and a tapestry needle.
A few years ago, I discovered a way to use grafting when joining two pieces of knitting that have already been bound off. It also uses a tapestry needle and a length of yarn. If the sweater is not terribly heavy, I use this type of grafting to join the shoulders of a sweater. I love it because it makes a nice neat seam that appears seamless and eliminates the bulk that most true seams have.
When doing this type of grafting, it’s important that you can pick out the stitches (Vs) in your knitting.
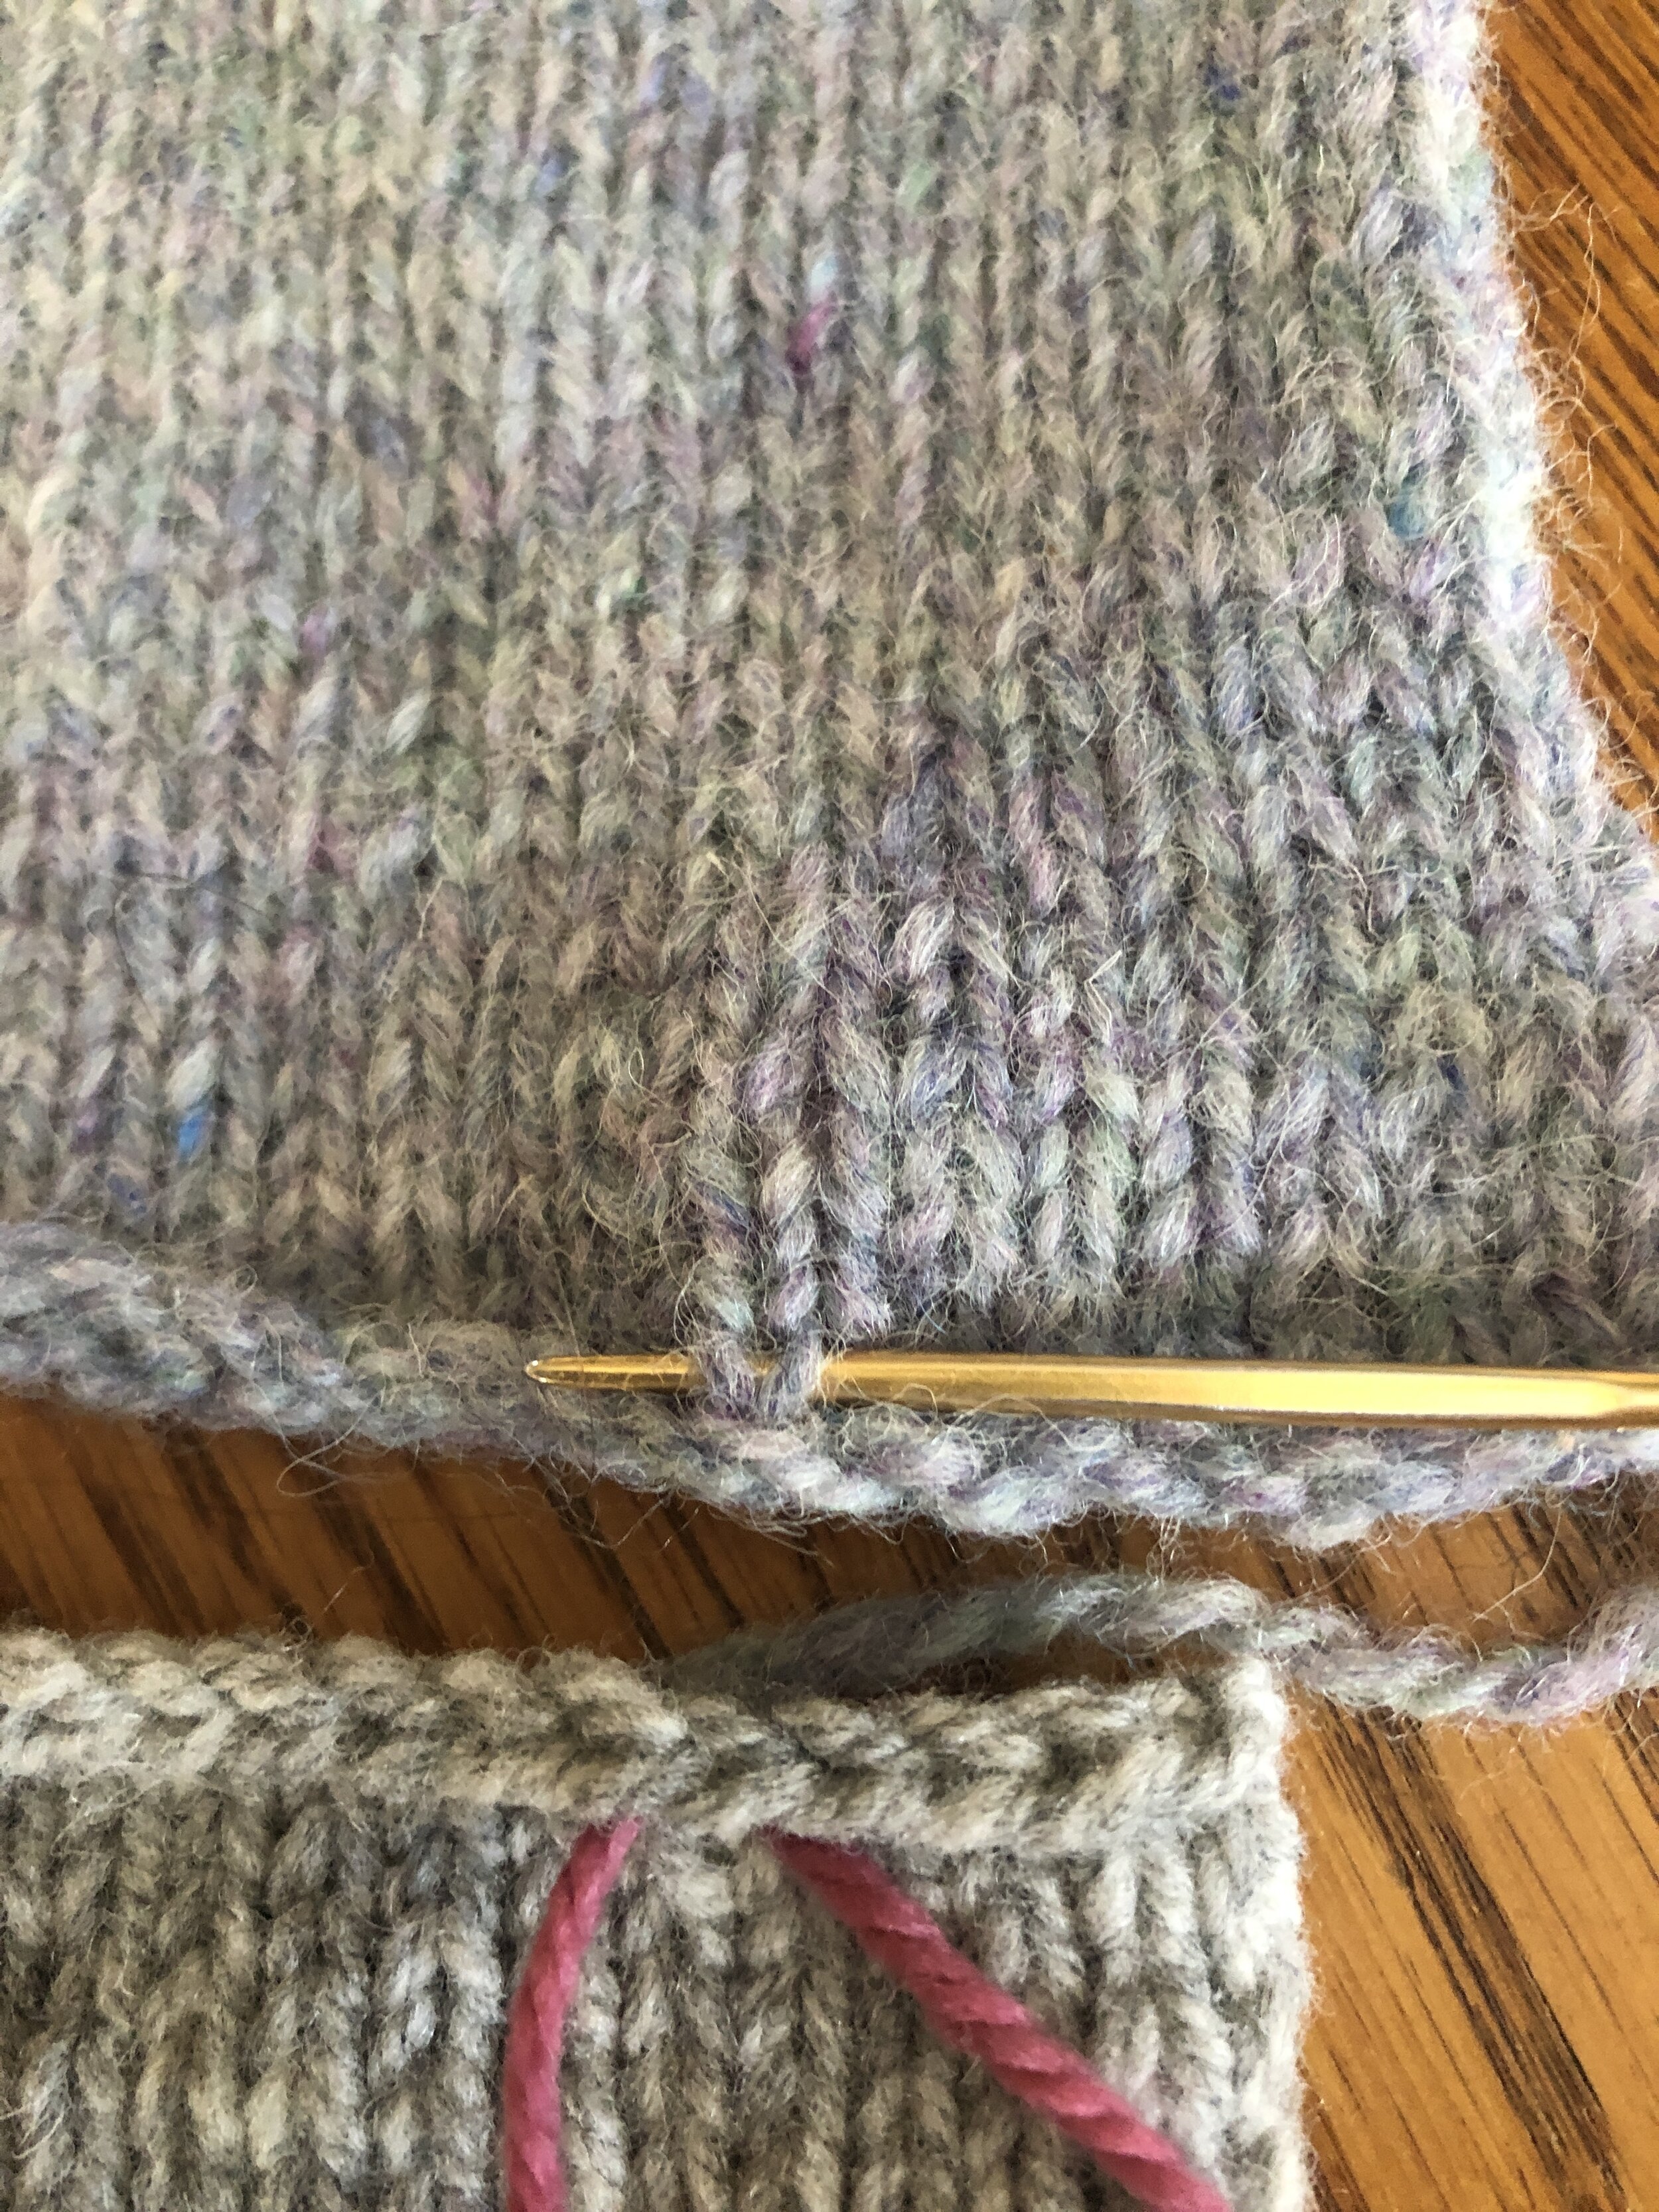
In this image, you can see the two pieces of knitting lined up, head to head. You can see I’ve outlined the stitches in both pieces in red. The piece at the bottom has stitches that look like Vs. The piece at the top has stitches that look like ^s, but that’s only because the piece is held upside down.
You should note that each stitch (V) consists of two legs, a right leg and a left leg.
Thread the tapestry needle with the yarn you used to knit your work. In my example, I’ve used a different color so you can better see it.
Beginning on the bottom piece and working from right to left:
Insert the needle on the right side of the right leg of Stitch #1 of the bottom piece from front to back.
Come up on the left side of the left leg of Stitch #1 of the bottom piece from back to front.
Insert the needle into the center of Stitch # 1 of the top piece from front to back.
Come up in the center of Stitch #2 of the top piece from back to front.
Insert the needle on the right side of the right leg of the next stitch of the bottom piece from front to back. (This will be the same space you came up out of in Step #2.)
Come up on the left side of the left leg of the same stitch of the bottom piece from back to front.
Insert the needle into the center of Stitch #2 of the top piece from front to back. (This will be the same space you came up out of in Step #4.)
Insert the needle into the center of the next stitch of the top piece from back to front.
Repeat from Step #5 - 8 until all the stitches have been used. You should see a long line of Vs over the seam. Pull tightly on both ends of the working yarn and Vs disappear into a perfect seam!
Here’s a little photo tutorial…

Steps 1 and 2.
Steps 3 and 4. Notice that the needle appears to be going under a V, but this is really the right leg of one stitch and the left leg of another because the top piece is shown upside down with the bound off edge at the bottom of the picture.

Steps 5 and 6.

Steps 7 and 8.
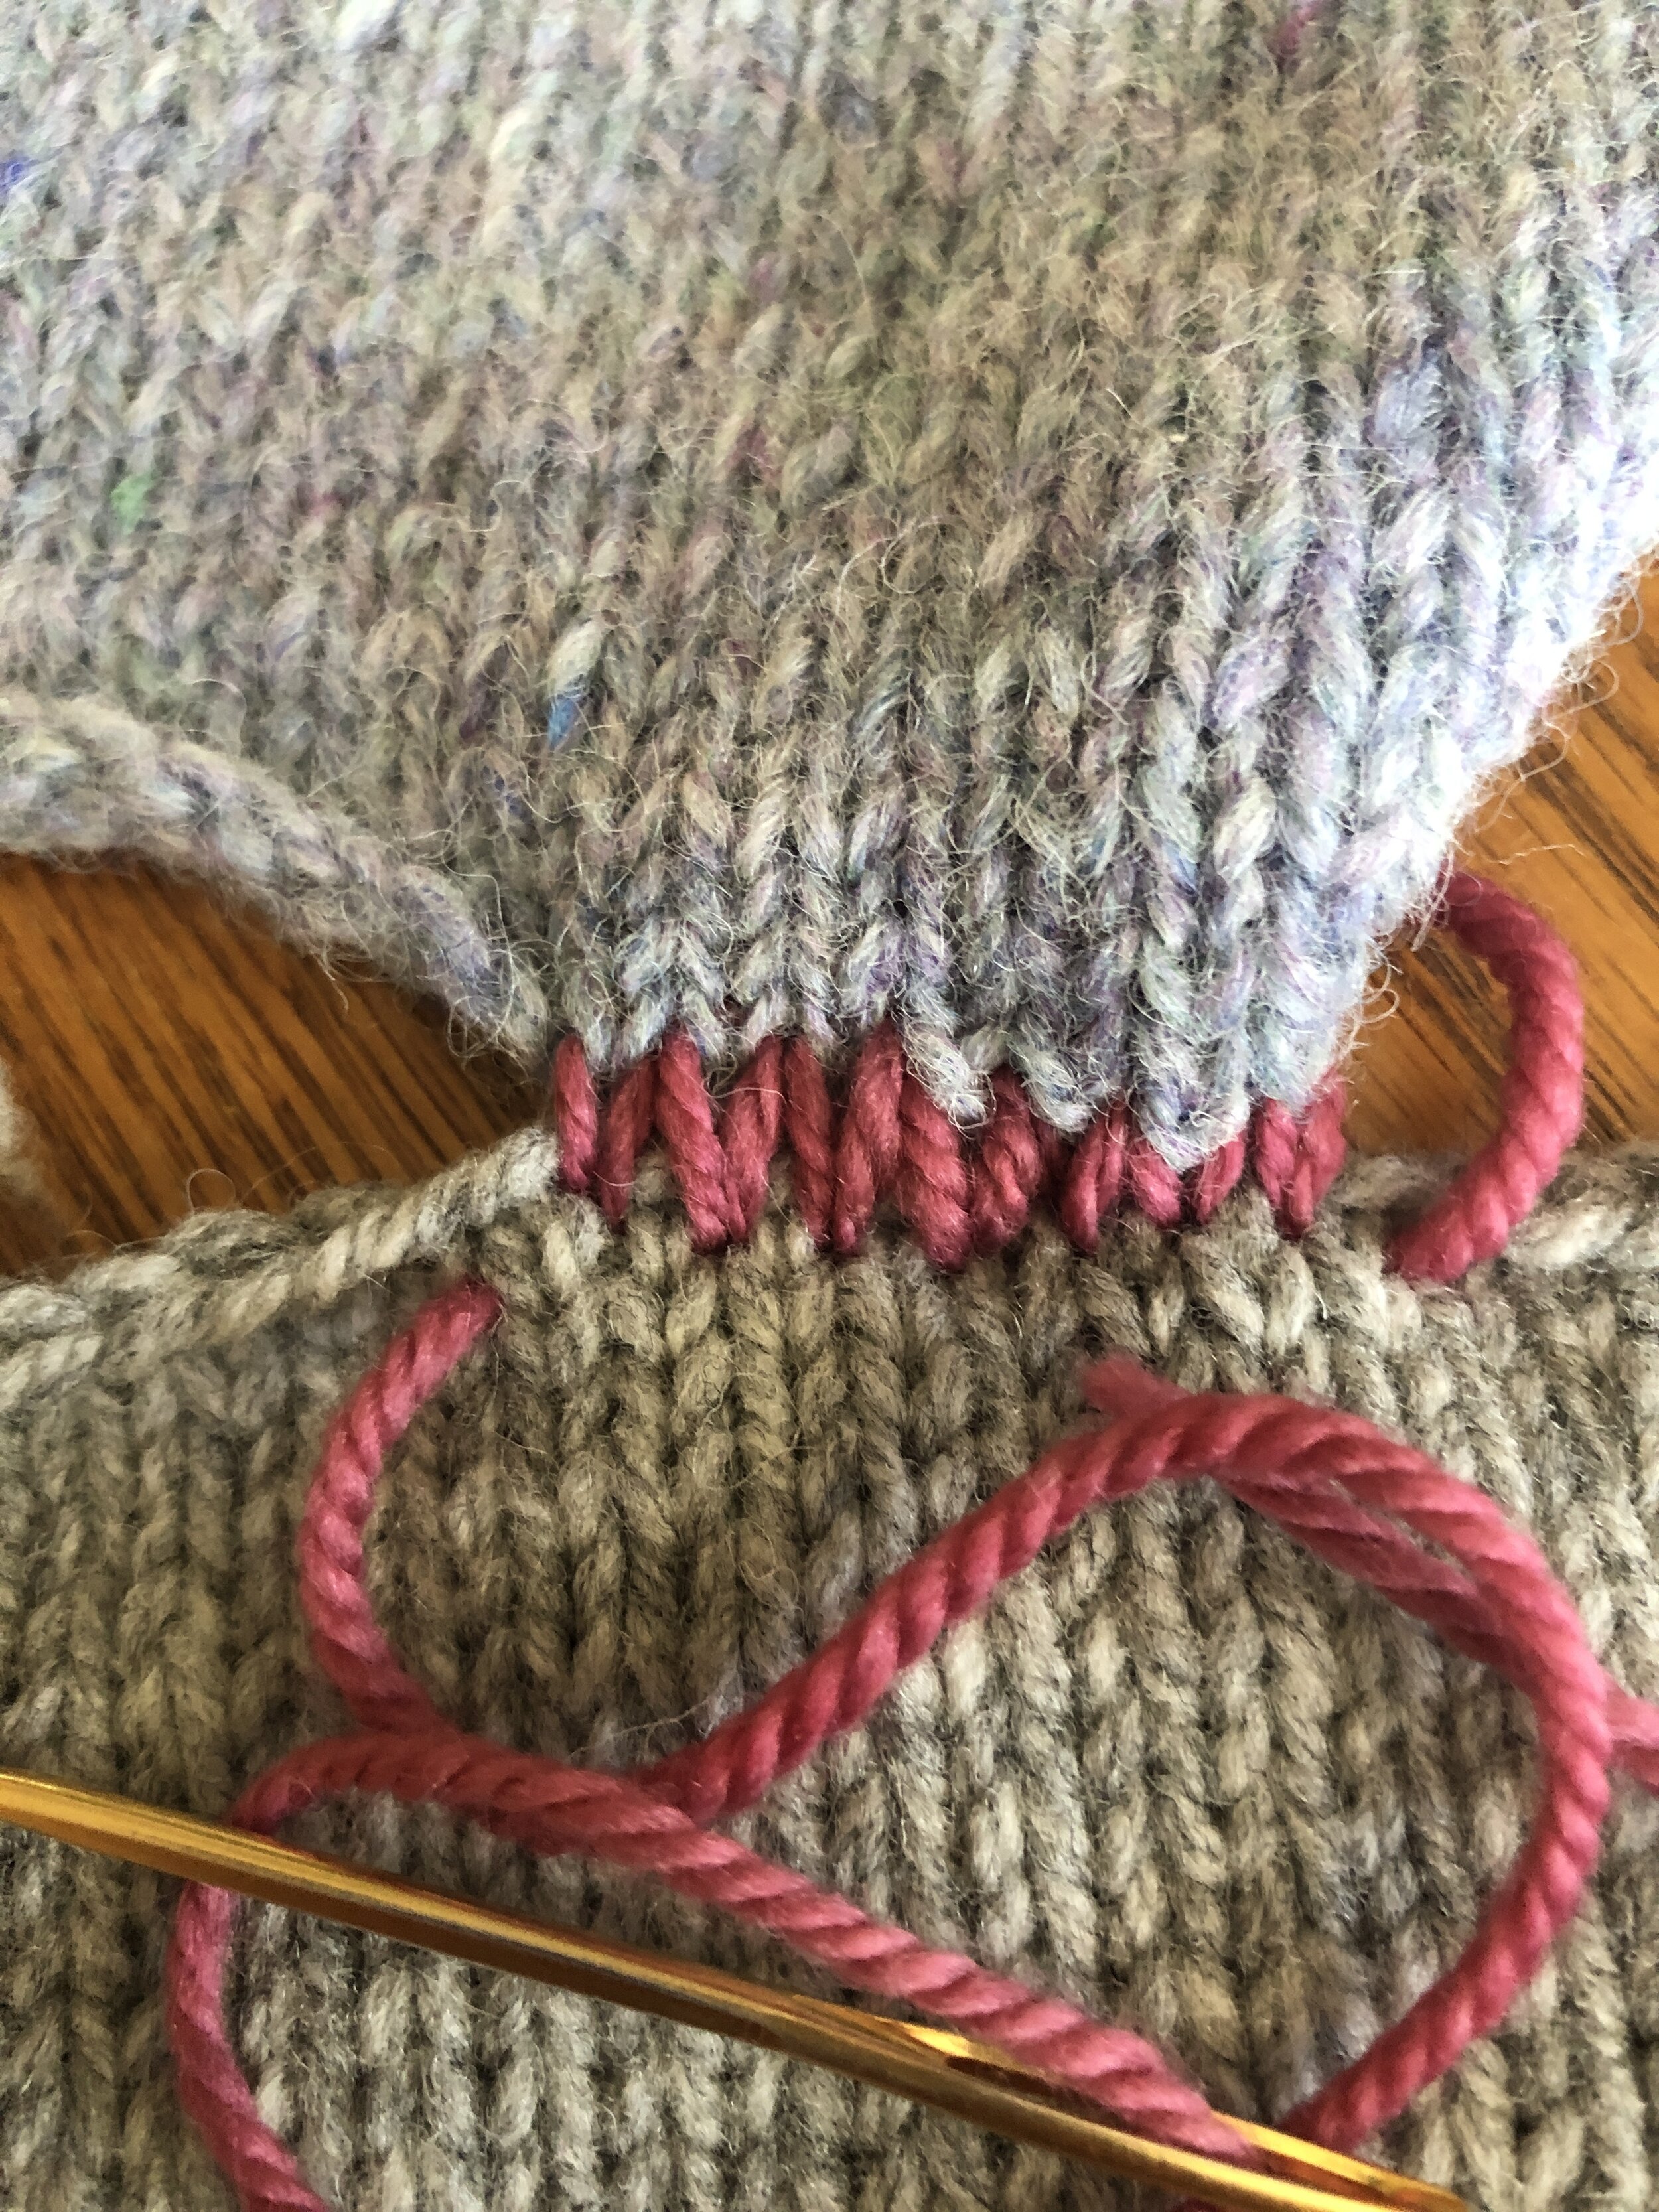
A long line of Vs emerge over the seam.

Pull tightly on both ends of the working yarn and the Vs disappear into a perfect seam.

